
On this page
Creating User accounts
To be able to create user accounts in the interface, your own user account must have the rights to read and manage users: “Any_User_Write” and “Any_User_read”
There are 2 ways to create a new user:
1/ Duplicating an existing user
2/ Creating a new user from scratch
We highly recommend to use the 1st solution, as there are a lot of user rights, and it is easier to remove/add some, than to select them all from a blank slate.
You can select any user with similar rights as the one you want to create, and you’ll just have to enter the new user’s details, and if necessary amend a few rights.
1/ How to duplicate a user account
Click on the Admin icon, and go to Manage users
You will now see the list of user accounts of your organization.
Find the user account that you wish to duplicate, and click on the “Clone” icon.
Please not that you cannot duplicate your own user – you will need to duplicate another one.![]()
In the new window, enter the new user’s details.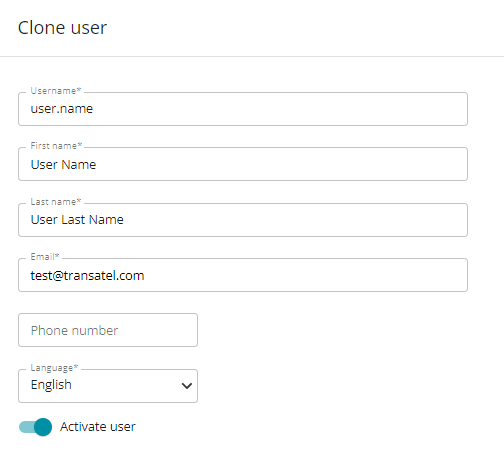
You can decide if you wish the account to be active immediately, or you can create it but leave it deactivated for now. You’ll be able to activate it any time.
The list of scopes, rights & customer account the new user will have access to is listed below.
If the user you’re cloning possesses some rights that you do not possess yourself, they will not be passed down to the new user. You can only pass rights that your own user possesses.
This will however not block you from creating the new user.
If you have correctly filled in the fields, you can now click on “Apply” at the very bottom of the page.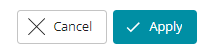
The user account is created automatically, and an email is sent to the new user with the link to create their password to finalize their account.
2/ How to create a user from scratch
To create a new user, click on the Admin icon and select Create a new user
You can now enter the new user’s details
Now, you need to give the new user:
– the right customer account access
– the USER_ROLE scope
– the relevant user rights
The page shows the rights/scopes of user has in the left section, and rights/scopes you can give them in the right section.
To add rights, tick the boxes in the left section, then use the arrow to move them to the left section.
Once you have finished, click on “Apply”
The user account is created automatically, and an email is sent to the new user with the link to create their password to finalize their account.